
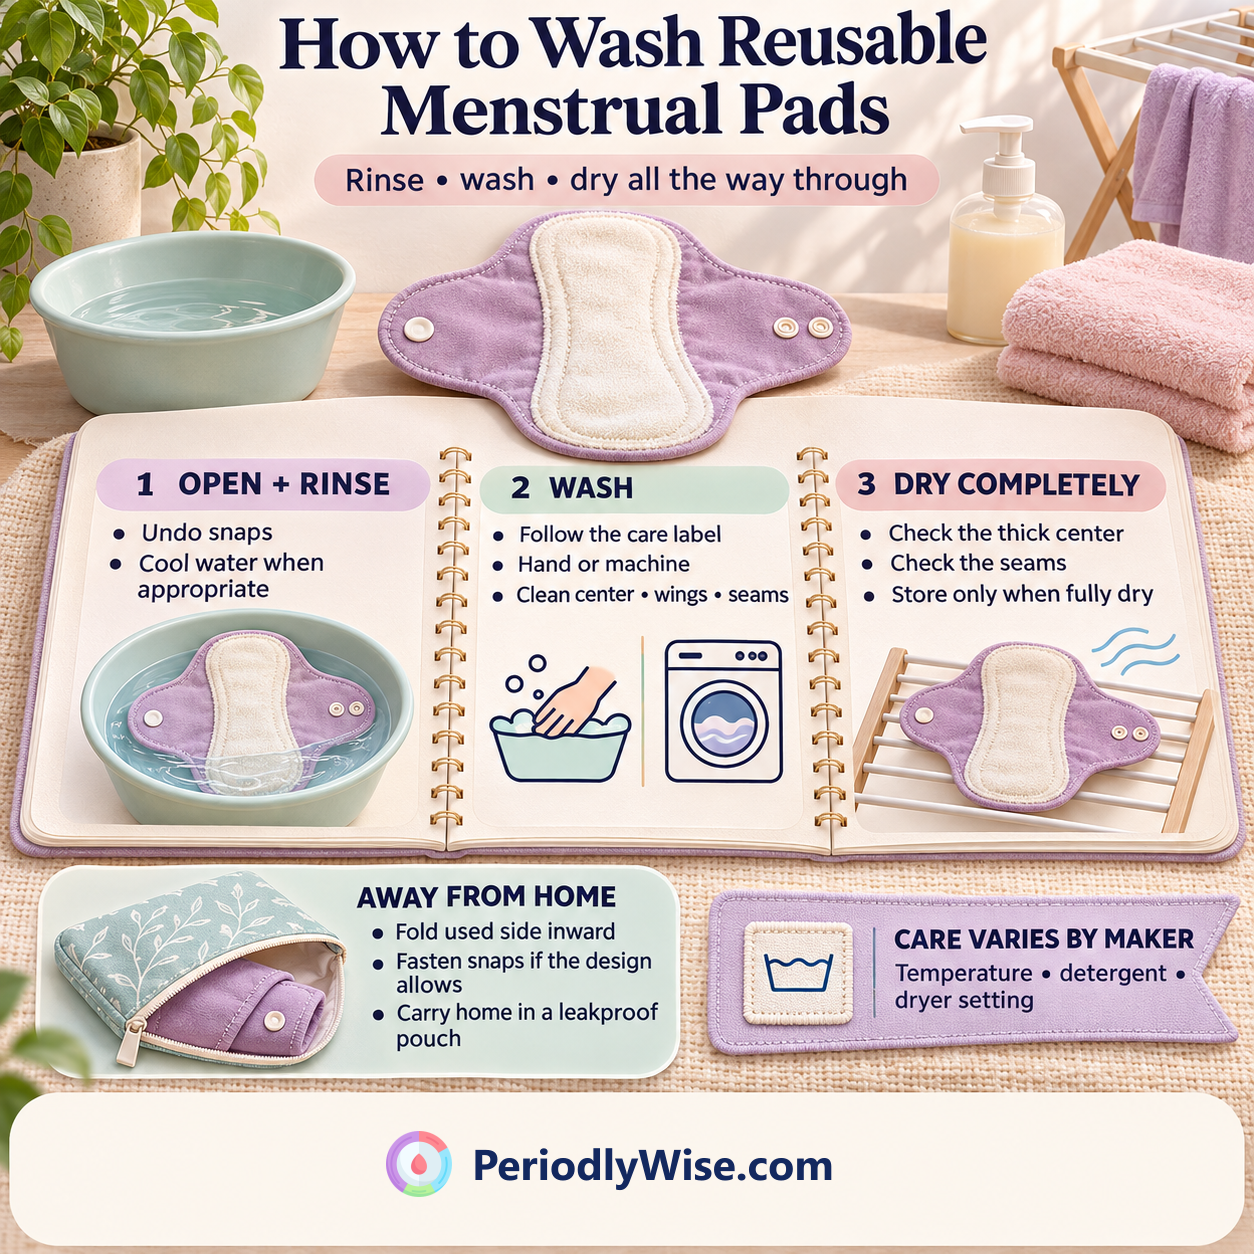
To wash reusable menstrual pads, rinse away excess blood with cool water, wash with a detergent or laundry soap allowed by the care label, and dry the pad completely. The cool rinse helps with stains. The wash cleans the fabric, and the dry check matters because the absorbent layers can still be damp after the surface feels dry.
If you are reading this with a used pad in your hand and nowhere private to rinse it, fold the used side inward, place it in a leakproof pouch and wash it when you get home. You can do the whole routine by hand if your pad allows it. A washing machine is convenient, but clean water, a thorough wash and enough drying time matter most.
A simple wash routine after each use
- Check the care label. Find the recommended wash temperature, whether hand or machine washing is allowed, and whether the pad can go in a dryer. If it is new, follow the maker’s directions about washing it before first use.
- Open the pad and rinse it. Undo the snaps and remove any detachable insert. If the label recommends pre-rinsing, or you want to lift excess blood, use clean cool water. Gently press water through the fabric. If the maker recommends a soak, use its directions and follow it with a wash.
- Wash the full pad. Use the detergent or laundry soap allowed for your model. Wash the wings and seams as well as the center. If the pad has an insert, wash both pieces.
- Rinse out the cleaner. For a hand wash, use fresh water until the suds are gone and the fabric no longer feels soapy. For a machine wash, follow the detergent dose and cycle directions.
- Dry all the way through. Open the wings and spread the pad so air can reach both sides. Check the thick center and seams before folding it, wearing it or putting it away.
Wash your hands before and after changing pads. Change them regularly and sooner if they feel wet, are saturated or start to leak. A fresh pad is easier on irritated skin than continuing to wear a damp one.
Hand wash or machine wash?
- To hand wash, use a clean basin and clean water at the temperature the label allows. Apply the approved cleaner and gently work it through the fabric. Drain the basin, then rinse in fresh water. A hard brush or aggressive wringing can wear the fabric or backing. Press out water gently, or roll the pad briefly in a clean dry towel to remove excess moisture.
- To machine wash, open the pad and wash it on the recommended cycle. A mesh bag can keep loose inserts together if the maker allows one. Some brands allow pads in a regular load with similar colors. Check your label and choose a load that fits its care instructions.
Care instructions really do differ. GladRags describes a cold machine wash and allows a low tumble dry for its cloth pads. DIA specifies a cold hand wash or a machine wash at 30°C (86°F) and says to line dry. Use those as examples of why the label matters, even when two pads look similar.
For routine care, stick to the recommended detergent. Skip fabric softener and dryer sheets when the maker advises against them. Use bleach, stain removers or other additives only if the label expressly allows them. The absorbent fabric and leak-resistant backing can need different care from an ordinary cotton towel.
How to dry and store pads when space is limited
Hang pads open on a line or rack, or lay them where both sides can dry according to the label. Space them out. If you dry indoors, choose an airy spot and turn them if one side is drying more slowly. Thick overnight pads can take longer than thin liners, especially in humid weather. Plan around how long the center actually takes to dry instead of relying on a fixed number of hours.
Before storing, press the center and check along the stitching and beneath any folds. If the pad feels damp, give it more time. Dry inserts separately if they detach. Use a dryer only if the care label allows it, and stay within the specified heat setting. Keep fully dry pads in a clean, dry place, apart from used ones.
Example: You hand wash two pads in the evening. The thin liner is dry the next morning, but the overnight pad is still damp at the center. Wear a clean spare or use another menstrual product while the thicker pad finishes drying.
What to do about stains, smells and leaks
- A mark after washing. Blood can leave a stain even after a thorough wash. Start the next wash with cool water if the label permits. Avoid hot water for the first rinse if you are trying to lift a blood stain. Spot-treat only with a product your pad can tolerate. A lingering color mark alone tells you little about how well the pad was washed.
- A musty smell or a pad that dried in a pile. Wash it again as directed and spread it out to dry completely. If you see suspected mold or a smell persists after proper washing and drying, set that pad aside and ask the maker about replacement. Avoid wearing it while you work out the cause.
- Leaking sooner than expected. Check whether the pad was already saturated, folded, or shifting in your underwear. If it is clean and dry, inspect seams, snaps and backing for damage. Ask the maker about care or replacement if the pad keeps leaking or the backing is coming apart.
- Skin irritation. Change into a clean, dry product and consider whether detergent residue, dampness or rubbing could be contributing. Seek medical advice if irritation persists or you notice new pain or unusual discharge. The appearance or smell of a used pad cannot identify an infection.
Changing a reusable pad away from home
Pack a clean spare and a separate leakproof pouch for used pads. Fold the absorbent side inward, fasten the snaps if the design allows it, and put it in the pouch. You can wait to rinse until you reach a place with clean water and enough privacy. Take the used pad out when you get home and wash it as soon as practical. Empty and clean the pouch according to its own directions, then dry it fully before you use it again.
If you are traveling, sharing a bathroom or dealing with a stretch of humid weather, think about where the pad can dry before you need it again. Carrying an extra dry pad or another product can give you the time you need. The best routine is one you can repeat with the water, privacy and drying space you actually have.
Frequently asked questions
Do I have to soak cloth pads overnight?
Only if your pad’s instructions call for it. Some makers recommend a soak for stains, while others describe a cool rinse and a regular wash. A soak does not replace washing and drying.
Can I wash reusable pads with my other laundry?
Some makers allow it after a cool rinse, with similar colors and a compatible cycle. Check the care label. A separate load can be a practical choice if other laundry needs a hotter wash or different products.
Can I put reusable menstrual pads in the dryer?
It depends on the model. Some labels allow low heat and others specify air drying. When in doubt, check the maker’s directions. Air drying with room for both sides to dry is a practical option for many pads.
Can I use a reusable pad that is still a little damp?
Wait until the pad is completely dry, including its thick center and seams. Use a clean, dry spare while it finishes drying.
Should I boil reusable menstrual pads to clean them?
Follow the pad’s wash and dry instructions. Boiling is not a routine wash step for cloth pads and may damage snaps, fabric or a leak-resistant layer. The cleaning instructions for a menstrual cup are different.
See when you might need clean spares, especially if thicker pads take longer to dry.
Use the Period Tracker